Setting Up Eclipse IDE for Android Application Development (Android-Part 1)
Here is a complete tutorial to setup Eclipse IDE. Hope you have seen the first tutorial and have installed the required tools (ADT + Eclipse & JDK).After installing JDK, extract the Android SDK to a folder and you will get something like this.
Few screenshots related to Eclipse may vary due to different version, but the overall meaning remains same.

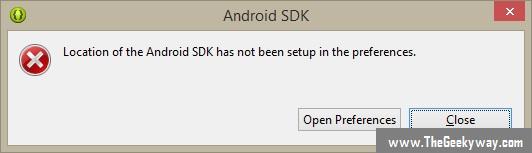
Please note that Eclipse is just an Integrated Development Environment which supports a wide variety of development ranging from C/C++/Java/Android to Electronics. Our Eclispe is a one, tailored for Android. The Eclipse and Android SDK should be kept in the same folder as shown above so that eclipse IDE is able to detect the SDK and use it for further development. If you attempt to change the location of Eclipse or SDK, or rename the SDK, you get the following error.
So, now open eclipse folder and there you will find a file called eclipse.exe. Open that file, a window appears which shows option to select the Workspace. Workspace is a path where your entire project including source, APK and all other files are stored. After selecting preferences, something like this will appear.

To start creating a new project, either use the menubar (Flile -> New) or use keyboard shortcut (Alt+Shift+N). From the drop down menu, select Android Application Project. A new Dialog box appears. Fill in the basic application details to continue.
- Application name : It is the name of the application as visible in your android phone
- Project name : It is the name of the project which will appear in the tree structure in left panel of Eclipse
- Package name : People familiar with Java must be knowing the concept of a package (or a namespace in C++/C#). It is a unique identifier for your application.
The best thing about IDEs is the way they explain each and every information. For eg, when we point on Package name, it shows the following text information as a help text explaining everything about the field.
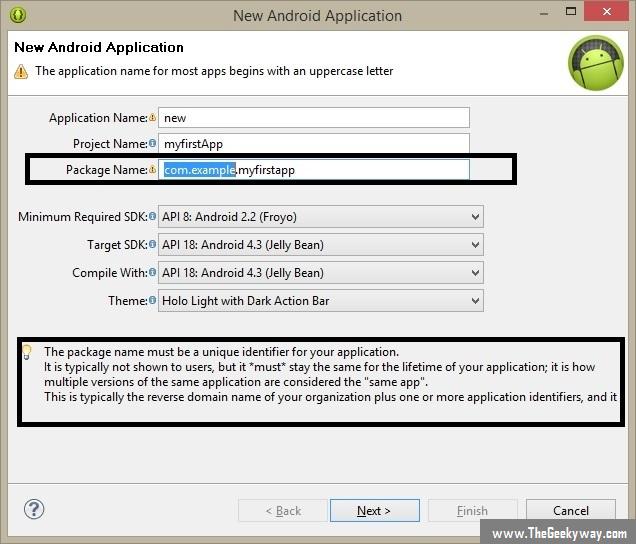
The other four fields are self explanatory, so are not explained here. Press Next to continue. You get the following dialog box.
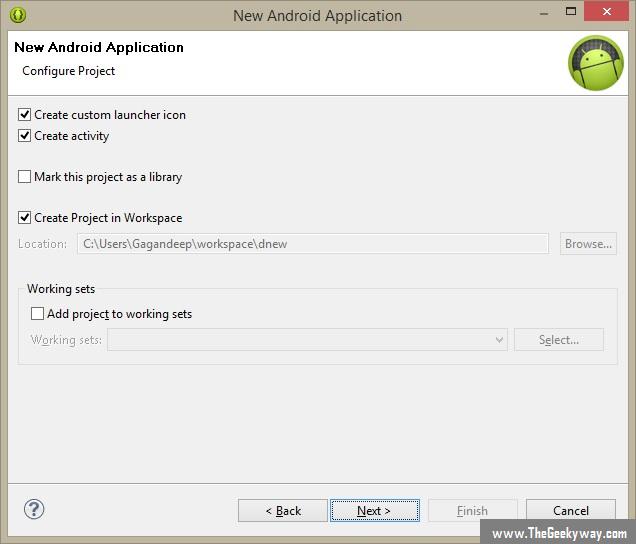
The options are explained here :-
- Create custom launcher icon : This allows to choose a custom Application Icon for your application.
- Create Activity : Activity in an android application is somewhat similar to a JFrame/Frame in Java. An activity simply represents a screen in Android. Activity is also a class in Android. You must check this option so that eclipse creates a dummy activity (with required methods)
-
Mark this project as library :
Check this option if you want this project to act as library (or source) for another project (not to be given much stress now). - Create Project in Workspace : This option allows to create all the files of the project inside the workspace which was selected when Eclipse started. This should be checked to store the files at that place and unchecked if you want to store the files anywhere else.
- Add project to working sets : This option is also related to linking multiple projects so should not be given much stress now.Click Next to continue. Now we get the following screen :
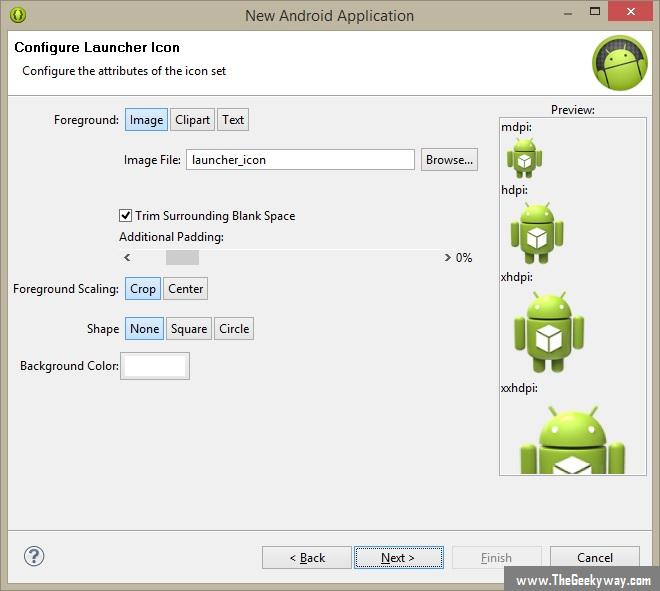
You can configure the icon for you application in this window. Try changing different colors, text,clipart etc and it would be clear to you. Most of the things are self explanatory and are not discussed here. Click next to continue. You will get the following screen.
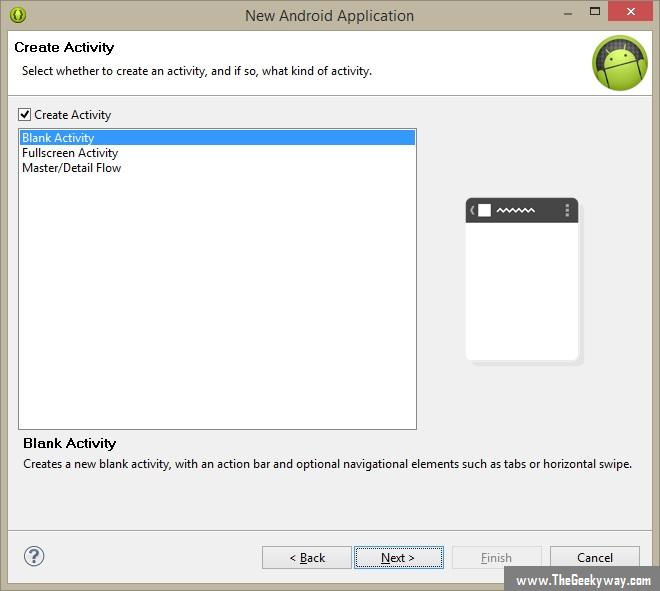
Now here we select the type of activity.
- Blank Activity : It is an activity where you get empty implementation of required methods and status bar of android phone is visible. So it is not a fullscreen activity.
- Full Screen Activity : Usually games utilize complete screen and come under this category. Select this option so that this occupies the complete screen (including status bar).
- Master / Detailed Flow : This allows users to create activity in such a way so that it is able to display an object as well as information related to each object. Moreover, it created two activities, i.e. master and detailed fragment respectively.
Click Next to continue. We get the following screen

- Activity Name : This is the name of new blank activity which starts the application.
- Layout Name : This specifies the layout for this activity. Please note that layout of an android activity is defined in XML inside layout folder.
**Navigation Type : ** Specifies the type of navigation the user will use to navigate while using the app. See options for more information which are self explanatory. Let it be none for now.
Click Finish to start with the actual process.The following window opens in Eclipse.
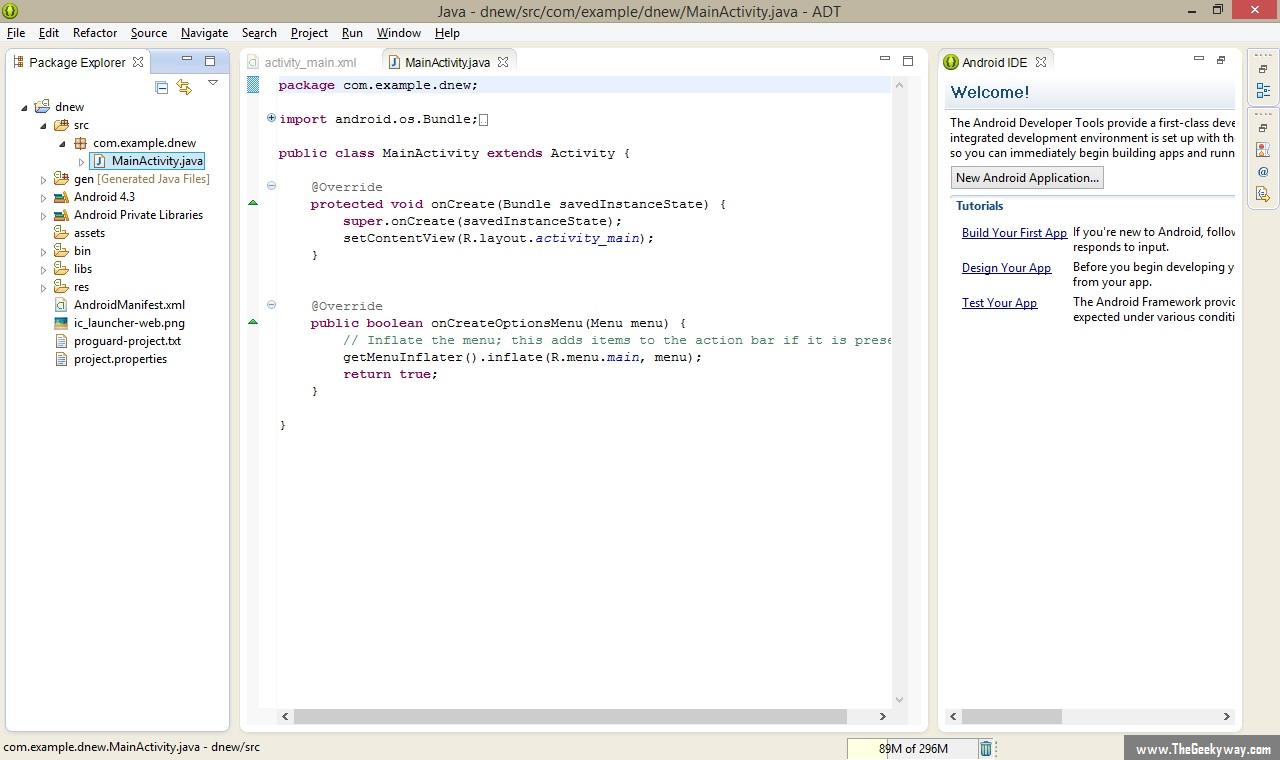
So now we have started with a simple Android Application. On the left hand side we have a list of folders which contain libraries and files related to our application. On the right hand side, we have the currently opened file. By default it shoes the main JAVA file of your application. Before starting coding, setting layouts etc. we require a complete understanding of all the folder on the left side. So in our next post tomorrow, we'll completely describe about each folder about what they mean and how to use them.